
7 Ways to Avoid the Craft Kit Curse: Make Your Tutorials Actually Accessible and Fun
Create Great Tutorials Using Art Education Best Practice!
Ever stared at a set of instructions and felt your soul leave your body? Yep, us too. Crafting should be fun, not frustrating—but let’s be real, not all tutorials are created equal. If you want your craft kit tutorials to actually help people (instead of making them rage-quit), you’ve got to think beyond just listing steps.
Many folks put off starting because they don’t know where to begin, aren’t sure of all the steps, or have no clue how long it’ll take. A well-designed, accessible tutorial clears these roadblocks, making crafting feel doable instead of daunting.
We’ll break down what makes a craft kit tutorial truly accessible using best practice tips from art education —including things you might not have considered. From reducing procrastination traps to making sure people don’t have to Google half your instructions, we’ve got you covered. Let’s make crafting awesome for everyone.
1. Break Down Steps to Make Things Less Distractible and Prevent Procrastination
Procrastination isn’t at all about being lazy—it’s about not knowing where to start, what’s involved, or how long it’s going to take. If your tutorial feels like a six-hour movie, nobody’s going to want to hit “play.” But if it’s structured like a bingeable TV series, suddenly it’s, “Just one more ‘episode’ oh, look at that, I finished the whole thing!”
Give your learners clear, logical stages with built-in stopping points that feel like mini victories. “Congrats, you just nailed the background! Next up, the outline.” This keeps the dopamine flowing and makes the whole process feel way less intimidating.

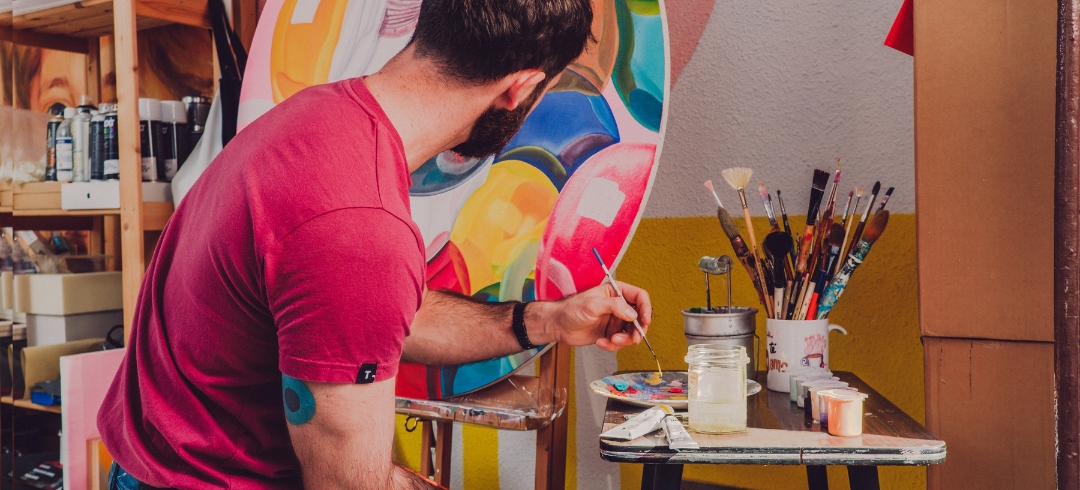
2. Show, Don’t Just Tell (And Show Your Mistakes, Too)
Abstract descriptions are the enemy of accessibility. If you’re explaining something tricky, throw in a real example—like how “Blue Peter” always had a finished version ready to show: “here’s one I made earlier!”. People need to see what success (and failure!) looks like.
And while we’re at it—show your own mistakes! It humanizes the process and reassures learners that messing up is part of the journey, not a reason to quit. Plus, nothing says “relatable” like a glue gun disaster.
3. Don’t Dump Info—Use Progressive Disclosure
Ever been hit with an avalanche of info all at once? Yeah, it’s not fun. Over-explaining can overwhelm people before they even get started. Instead, drip-feed details with progressive disclosure—give learners the core info first, then let them dig deeper if they want to.
Think of it like a video game tutorial: you don’t need to teach advanced crafting techniques in Step 1. Let people level up at their own pace!

4. Make Sure Your Craft Kit Has Everything (No Treasure Hunts Required)
Nothing kills momentum like realizing you’re missing a key material. Your craft kit should have everything needed, down to the tiny scissors if precision cutting is involved. The whole point of a kit is to avoid admin and last-minute emergency runs to the craft store. This is extra important if your kit might end up as a personalised gift!
And if something must be sourced separately, make that crystal clear upfront. Nobody likes mid-project surprises (unless they involve extra glitter). Better yet - if you’re selling via Craft & Master - let us know! We can explore the option of providing ‘optional add-ons’ at checkout for your customers.

5. Offer Different Ways to Learn
People absorb info in different ways—some need written instructions, some need visuals, some need a full-blown tutorial video with dramatic music. The more ways you present your content, the more people you’ll help.
Captions, step-by-step photos, video demos, and even audio descriptions can make a huge difference. Think of it like crafting accessibility superpowers.
6. Take It Slow—Seriously, Slow Down
New teachers tend to speed-run their material, but good pacing makes tutorials way more effective. A well-placed pause gives learners time to process without feeling rushed.
And don’t just plow through sections—end each one with a moment of pride. “Boom, your base layer is done. Stand back and admire your work!” That little reward keeps people hooked and motivated to keep going.
7. Art Tutorials for Everyone Are Tutorials for No One
If you try to make your tutorial for everyone, you’ll end up connecting with no one. Be specific! Whether it’s beginner crafters, kids, or people with specific accessibility needs, tailor your tutorial to them. That way, your audience feels seen and supported.

Drop us a Message about transforming Your Art to Craft!
Let’s make crafting actually accessible. By tweaking how you structure and present your tutorials, you can help more people enjoy the process (instead of rage-quitting halfway through).
What’s the biggest frustration you’ve had with craft tutorials? Drop us a message on our instagram https://www.instagram.com/craftandmaster/ —we’d love to hear from you (and maybe even include it as we update our guidance for artists!
Final Thoughts
Making craft kit tutorials accessible isn’t just about clarity—it’s about reducing frustration, offering multiple ways to learn, and making sure every step feels rewarding. With structured stages, progressive learning, and complete materials, you turn crafting into a smooth, frustration-free experience.
Now go forth and create tutorials that actually help people—no decoder ring required.